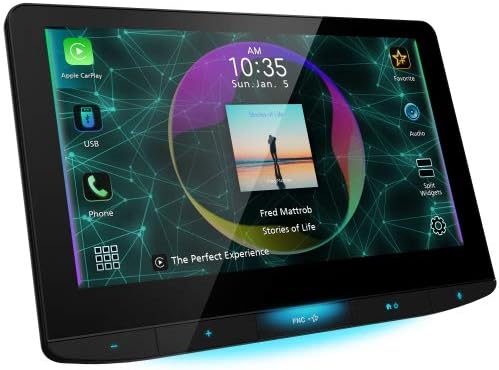
JVC KW-Z1000W Review
JVC KW-Z1000W JVC KW-Z1000W: Ultimate car entertainment system with wireless Apple CarPlay, Android Auto, and stunning 10.1″ capacitive touchscreen. Check Latest Price


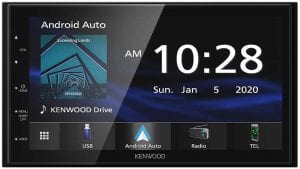
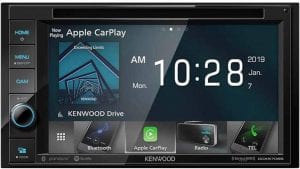
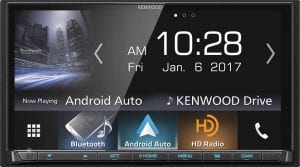
Kenwood DMX9720XDS
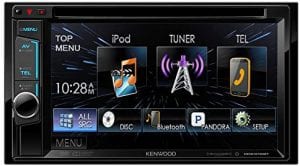
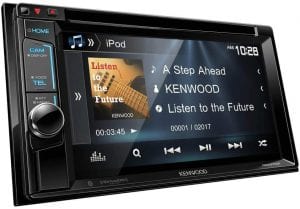
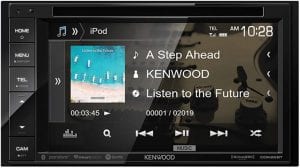
Kenwood’s DDX5706S DVD receiver is the perfect hub for your Apple smartphone.
Kenwood’s car stereo systems with Bluetooth technology allow you to stream music wirelessly from your smartphone, tablet, or other Bluetooth-enabled devices. This feature enables hands-free calling and lets you control your music and phone calls with the car stereo’s controls or through voice commands. Some of the features you can expect from a Kenwood car stereo with Bluetooth include:
By choosing a Kenwood car stereo with Bluetooth, you can enjoy a convenient, safe, and high-quality in-car audio experience.
Connecting your Android device to a Kenwood car stereo via USB is a simple process that involves the following steps:
Ensure compatibility: Make sure your Android device and the Kenwood car stereo are compatible with each other and that the car stereo has a USB port.
Connect the cable: Use a USB cable to connect your Android device to the USB port on the Kenwood car stereo.
Select USB mode: On the car stereo, navigate to the USB source and select it to activate the USB mode.
Play music: Your Android device’s music library should now be accessible on the car stereo. You can control playback from the car stereo or your Android device.
Note: Some Kenwood car stereo models may require additional setup, such as setting the audio output to MTP (Media Transfer Protocol) mode on your Android device. Refer to your device’s manual or the Kenwood website for more information on compatibility and setup.
Connecting your Android device to a Kenwood car stereo via Bluetooth is a straightforward process that involves the following steps:
Enable Bluetooth on both devices: Make sure Bluetooth is turned on and discoverable on your Android device and on the Kenwood car stereo.
Pair the devices: On the Kenwood car stereo, go to the Bluetooth settings and select “Pair New Device.” On your Android device, go to the Bluetooth settings and search for nearby Bluetooth devices. Select the Kenwood car stereo from the list and follow the on-screen instructions to complete the pairing process.
Connect to the stereo: Once the pairing process is complete, your Android device should automatically connect to the Kenwood car stereo when it is in range.
Play music: With the connection established, you can now play music from your Android device through the Kenwood car stereo. You can control playback from either device.
Note: Some Kenwood car stereo models may require additional setup, such as setting the audio output to A2DP (Advanced Audio Distribution Profile) mode on your Android device. Refer to your device’s manual or the Kenwood website for more information on compatibility and setup.
Yes, Kenwood is a good brand that has been producing high-quality audio equipment for many years. Kenwood is known for its car audio equipment, including head units, speakers, and amplifiers. They are known for producing high-quality products that are both reliable and feature-packed.
In terms of head units, Kenwood offers a wide range of options, from basic head units to high-end models with built-in navigation and other advanced features. Their head units are well-designed, user-friendly, and compatible with both Apple CarPlay and Android Auto.
In addition to their head units, Kenwood is also known for producing high-quality speakers and amplifiers that provide excellent sound quality and durability. They offer a range of options to suit different budgets and needs, making it easy to find the right equipment to upgrade your car audio system.
Overall, Kenwood is a good brand that provides high-quality audio equipment that is both reliable and feature-packed. Whether you’re looking for a new head unit, speakers, or amplifier, Kenwood is a brand that is definitely worth considering.
The best head unit for sound quality will depend on your specific needs and budget, but here are some head units that are widely regarded as offering excellent sound quality:
Alpine ILX-W650: This head unit features an 7-inch touch screen display and is known for its excellent sound quality, thanks to its built-in amplifier and custom tuning options. It also supports Apple CarPlay and Android Auto, making it easy to connect your smartphone and access your favorite apps and music.
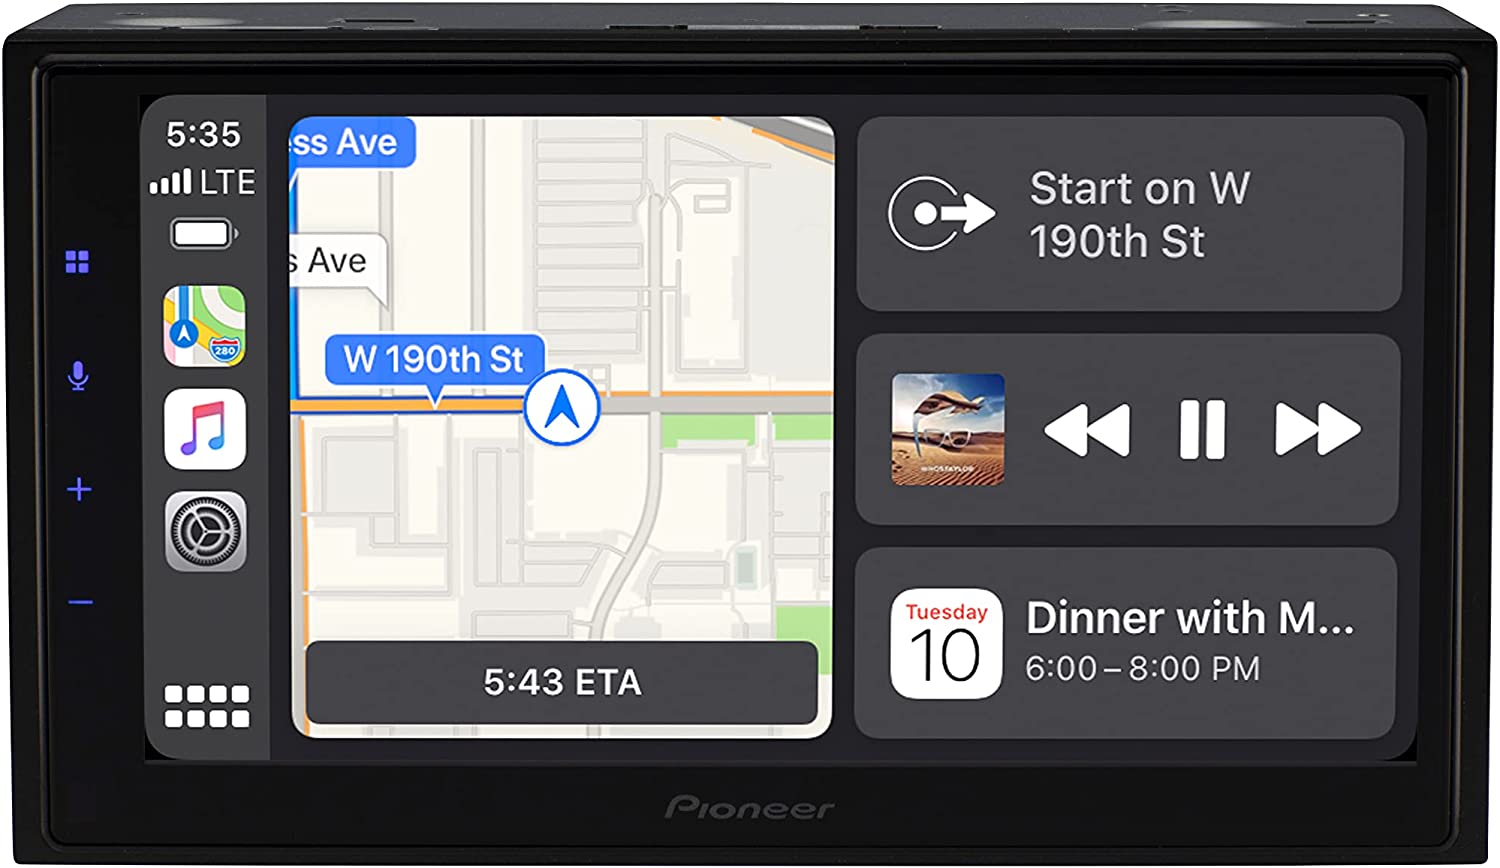
Pioneer AVH-W4400NEX: This head unit features a 7-inch touch screen display and is known for its excellent sound quality, thanks to its built-in amplifier and customizable sound settings. It supports both Apple CarPlay and Android Auto, and also includes built-in navigation and Wi-Fi connectivity.
JL Audio MBT-RX: This head unit is designed specifically for high-end audio systems and is known for its excellent sound quality. It features a 7-inch touch screen display and includes customizable sound settings, built-in amplifier, and support for both Apple CarPlay and Android Auto.
Sony XAV-AX8000: This head unit features an 8.95-inch touch screen display and is known for its excellent sound quality, thanks to its built-in amplifier and customizable sound settings. It supports both Apple CarPlay and Android Auto, and also includes built-in navigation and Bluetooth connectivity.
These are just a few examples of head units that are widely regarded as offering excellent sound quality. Before making a purchase, it is important to consider your specific needs and budget to ensure that you choose the best option for you.
To change the time on a Kenwood touch screen radio, the steps may differ based on the model, but here’s a general guideline for some popular models:
Press either the “Menu” button on the front panel or on the screen of the radio.
Use either the touch screen or buttons on the front panel to navigate to the “Clock” or “Settings” menu.
Choose the option to change the time, which could be labeled as “Time,” “Clock Adjust,” or “System Time.”
Use either the touch screen or buttons on the front panel to set the correct time, including hour, minute, and AM/PM.
After setting the correct time, press the “Menu” button or select the “Save” or “Done” option to save the changes.
Note: If your Kenwood touch screen radio has a built-in navigation system, you might be able to set the time automatically with GPS. However, you might need to adjust the time manually if GPS isn’t available.
For more information on changing the time on your specific model, it’s recommended to consult the user manual for your Kenwood touch screen radio. The manual will provide comprehensive instructions and any relevant information related to setting the time on your model.
Resetting a Kenwood touch screen radio can help resolve any technical issues or restore the unit to its original settings. The steps to reset a Kenwood touch screen radio may vary depending on the specific model, but here are the general steps to follow:
Locate the reset button: The reset button can be found on the front panel or on the side of the radio. In some models, it may be labeled as “Reset” or “Restore.”
Turn off the radio: Before resetting the radio, make sure it’s turned off. If the radio is on, turn it off by pressing the power button.
Press and hold the reset button: Once the radio is turned off, press and hold the reset button for 10 to 15 seconds.
Release the reset button: After holding the reset button for the specified time, release it. The radio should turn on automatically.
Confirm the reset: The radio will restart, and you’ll see a message confirming that the reset was successful.
Note: Some Kenwood touch screen radios may have different reset methods, so it’s recommended to consult the user manual for your specific model to ensure you’re following the correct procedure.
By resetting your Kenwood touch screen radio, you can resolve technical issues and restore the unit to its original settings. Make sure to follow the steps carefully to ensure a successful reset.
Removing a Kenwood touch screen radio can be necessary if you’re replacing it with a new one, or if you need to repair it. The process of removing a Kenwood touch screen radio may vary depending on the specific model, but here are the general steps to follow:
Disconnect the power source: Before starting the removal process, make sure to disconnect the power source from the radio to avoid any electrical hazards.
Locate the release mechanism: In most Kenwood touch screen radios, there is a release mechanism, such as a lever, that holds the unit in place. Locate the release mechanism and release it.
Remove the mounting screws: In some models, there may be screws or bolts that secure the radio to the dashboard. Use a screwdriver to remove these screws.
Detach the wiring harness: The wiring harness connects the radio to the vehicle’s electrical system. Carefully detach the wiring harness from the radio.
Slide the radio out of the dashboard: Once the release mechanism and mounting screws have been removed, you should be able to gently slide the radio out of the dashboard.
Disconnect any additional cables: Depending on your specific model, there may be additional cables or connectors that need to be disconnected before the radio can be fully removed.
Note: It’s recommended to consult the user manual for your specific Kenwood touch screen radio for detailed instructions on removing the unit, as the process may vary depending on the model.
Removing a Kenwood touch screen radio requires caution and care to avoid any damage to the unit or your vehicle. Make sure to follow the steps carefully and consult the user manual for specific instructions for your model.
JVC KW-Z1000W JVC KW-Z1000W: Ultimate car entertainment system with wireless Apple CarPlay, Android Auto, and stunning 10.1″ capacitive touchscreen. Check Latest Price
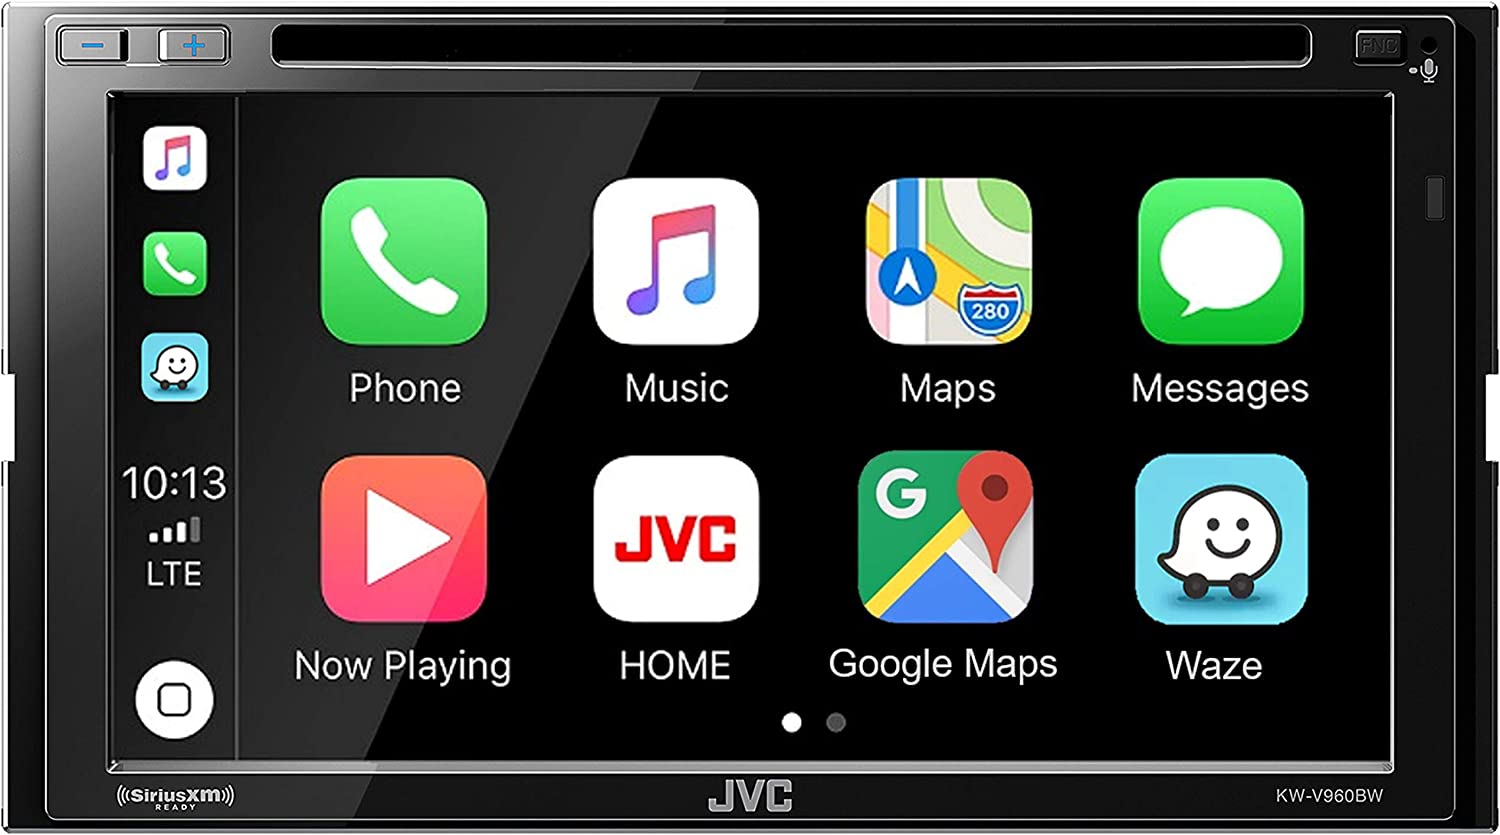
JVC KW-V960BW JVC KW-V960BW Built in Wi-Fi for Wireless CarPlay Android Auto, CD/DVD 6.8″ LCD Touchscreen Display, AM/FM, Bluetooth, MP3 Player, USB
Facebook Twitter Reddit Pinterest Tumblr When it comes to enhancing your driving experience, a high-quality car stereo system is indispensable. However, with
Facebook Twitter Reddit Pinterest Tumblr Driving has evolved from being a mere means of transportation to an experience in itself, and a
Facebook Twitter Reddit Pinterest Tumblr In the world of car audio, the terms “Single-DIN” and “Double-DIN” are commonly used to describe the
Get the latest reviews and buyers guides straight to your inbox as they go live!